-
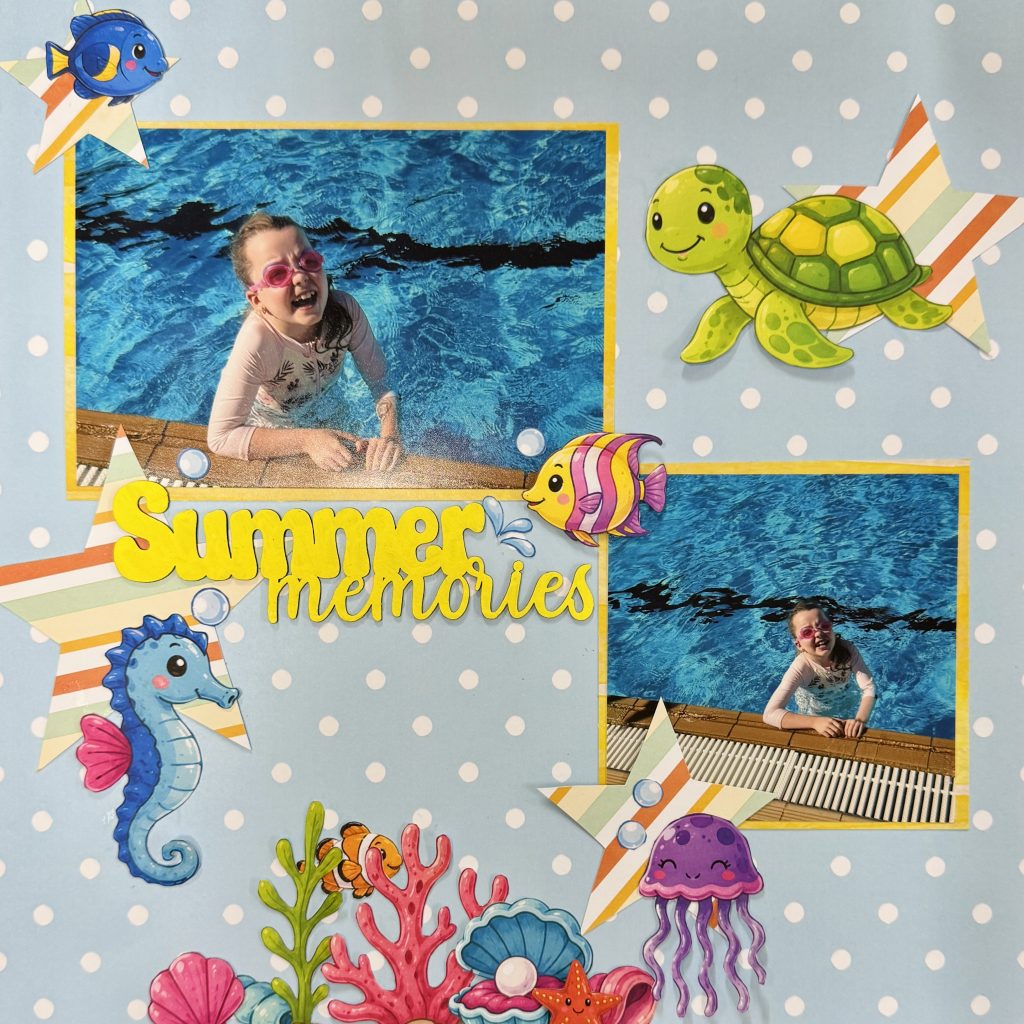
Summer Memories Layout – Fussy-Cuts for Kids – Friday 17 July 2026
-
Apprentice Chef Layout – Peach Whimsy Collection – Friday 10 July 2026
-
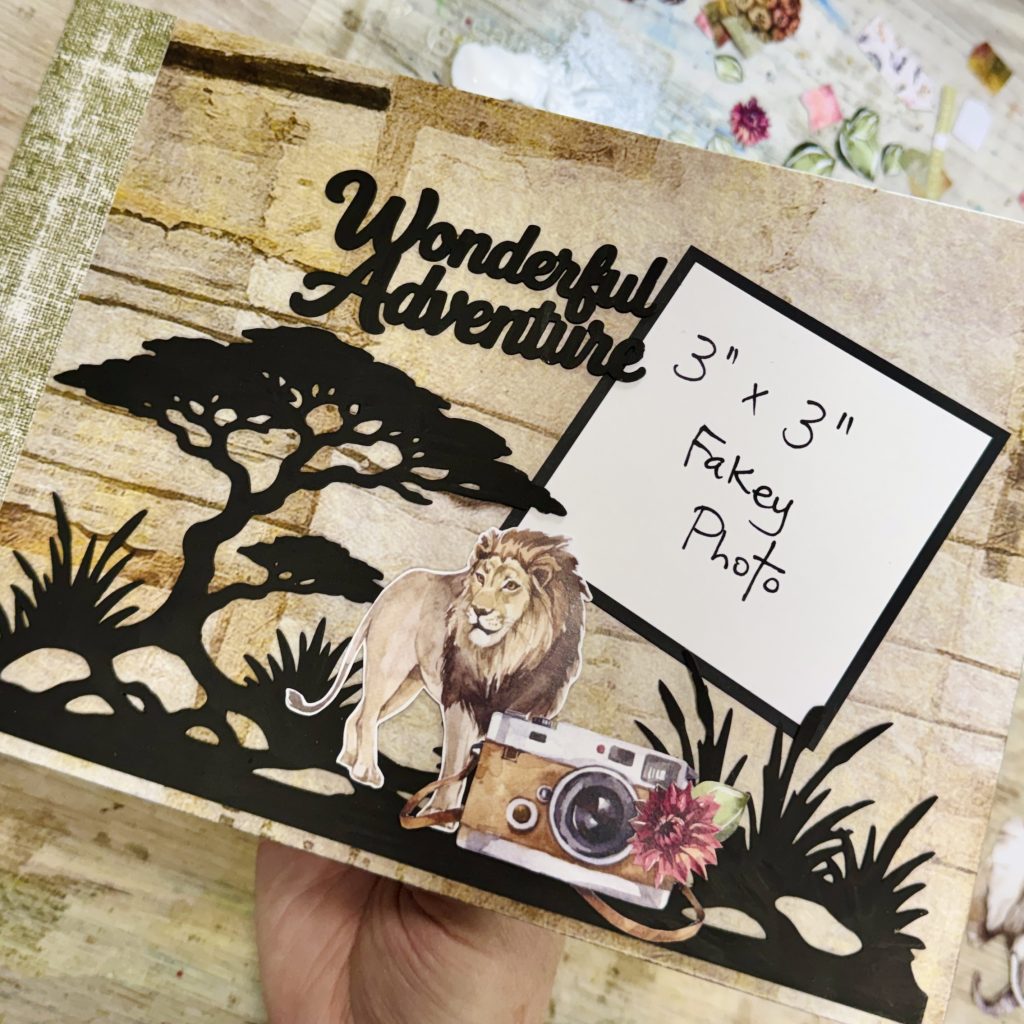
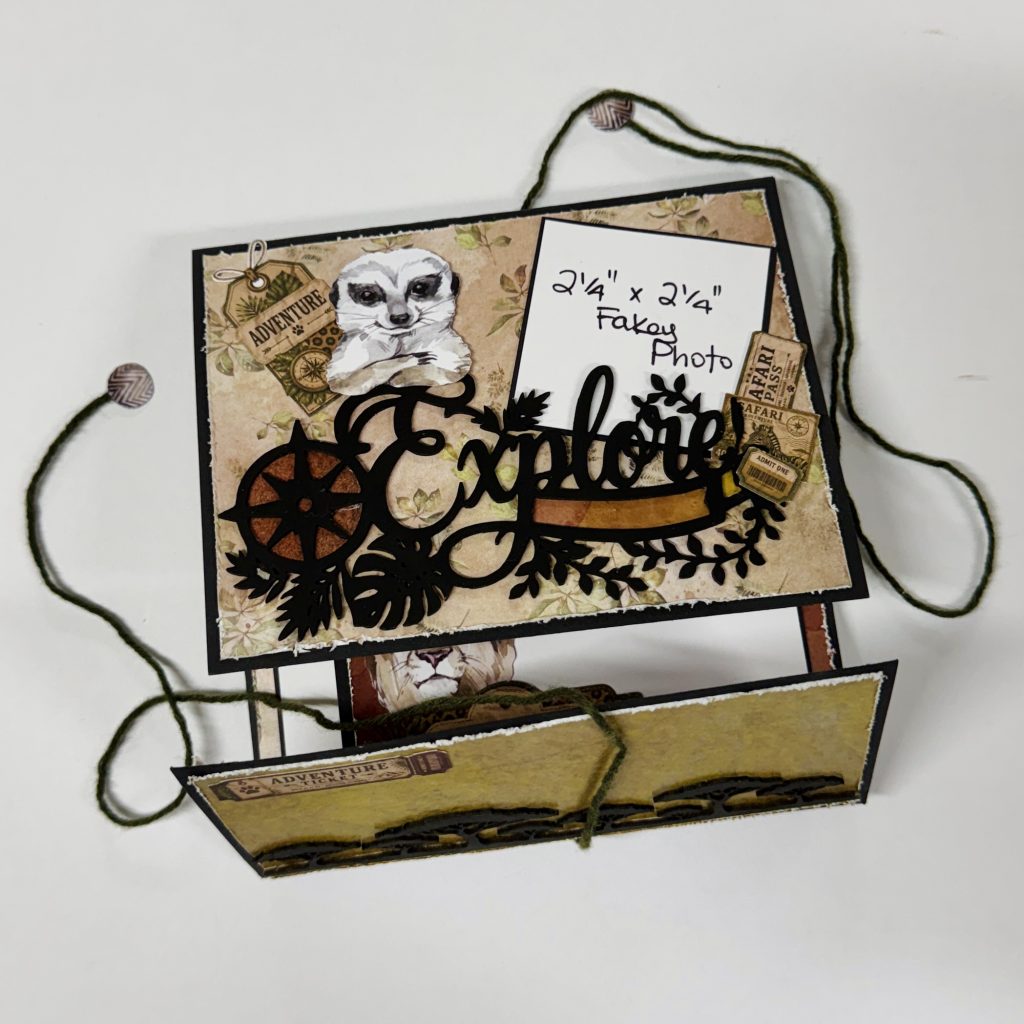
On Safari 10″x7″ Mini Album – July 2026
-
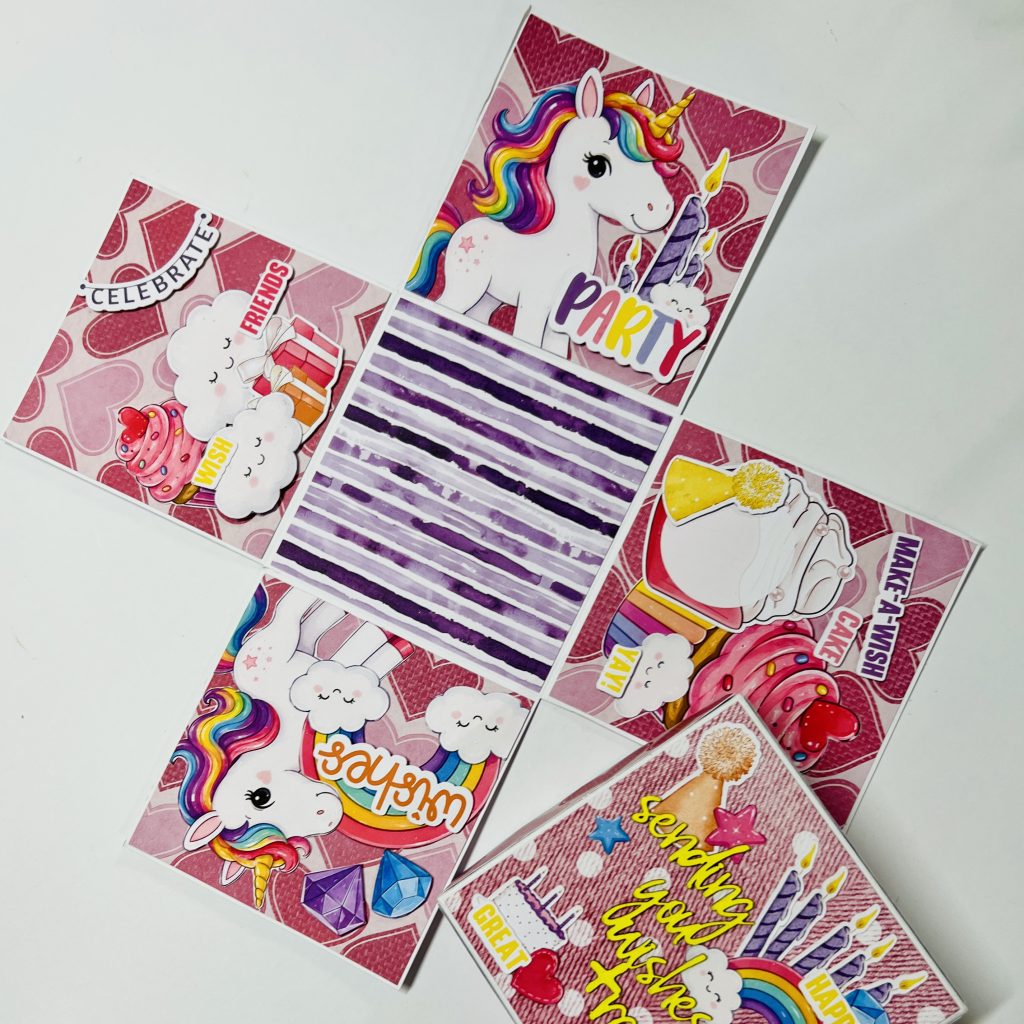
Exploding Box – Mixed Collections + Fussy-Cuts for Kids – Thursday 2 July 2026
-
Enchanted Scrapbook Layout – Fairytale Princess Collection – Wednesday 1 July 2026
-
Beautiful Scrapbook Layout – On Safari Collection – Sunday 28 June 2026
-
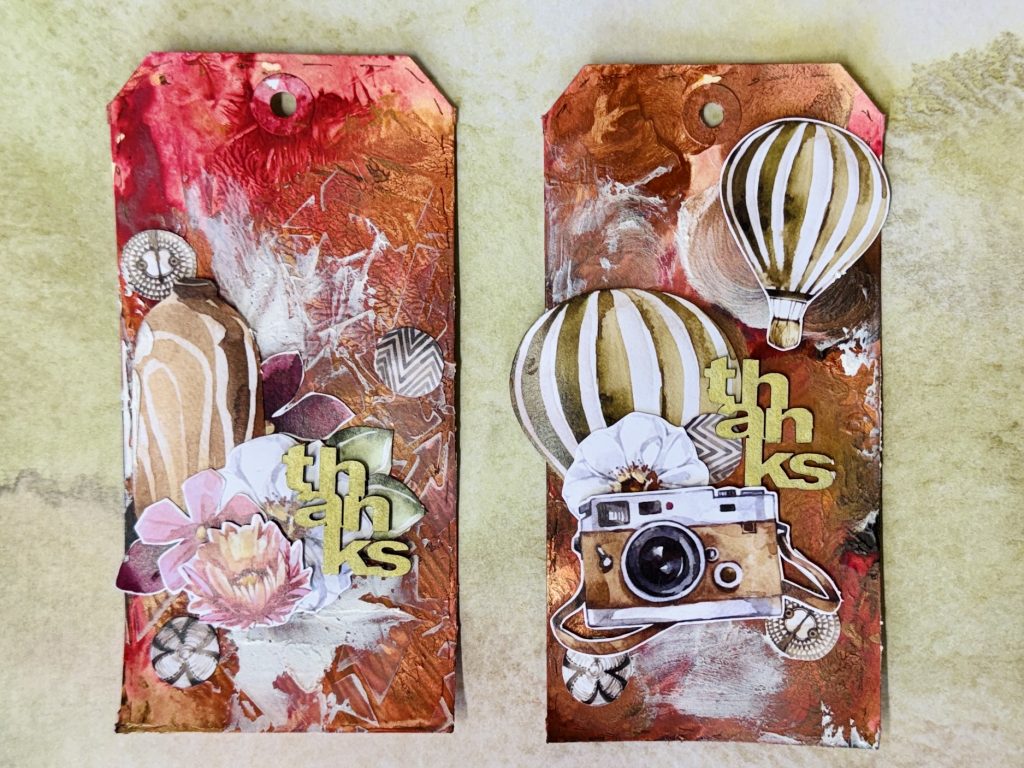
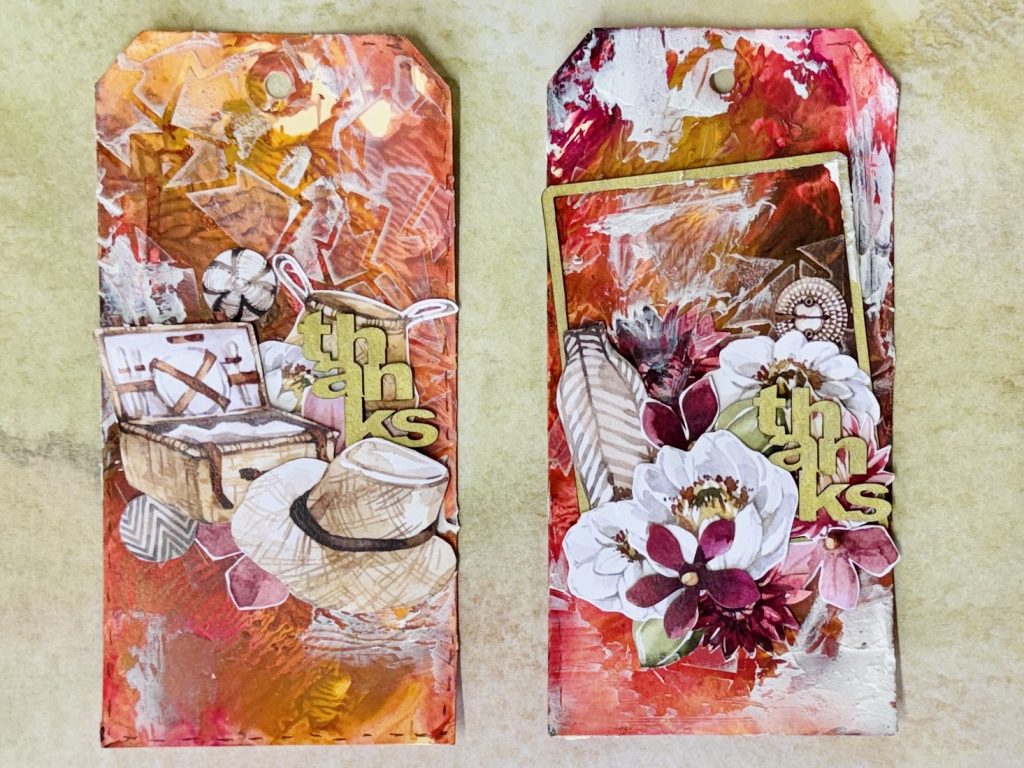
Tag Art Class – On Safari Collection – Saturday 27 June 2026
-
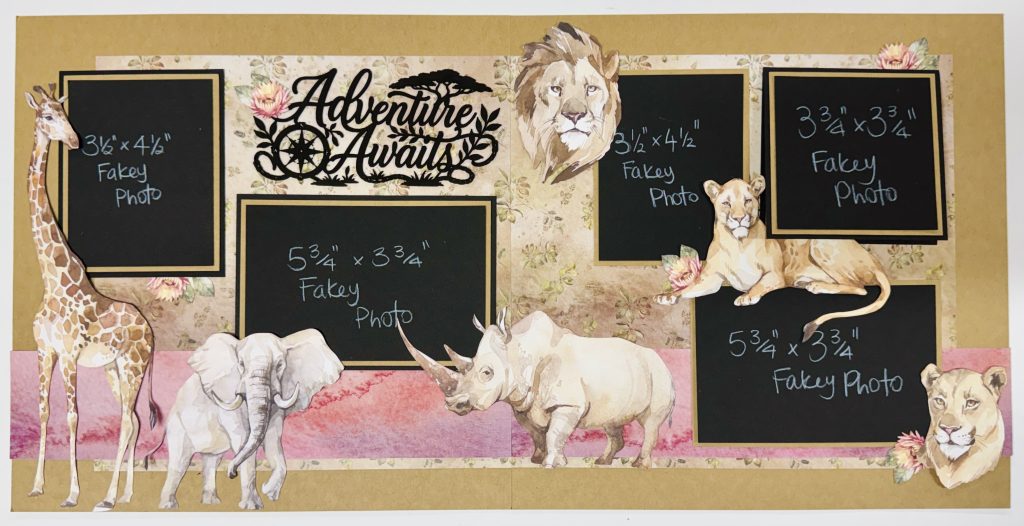
Adventure Awaits Double Page Scrapbook Layout – On Safari Collection – Friday 26 June 2026
-
On Safari Mini Folio – June 2026
-
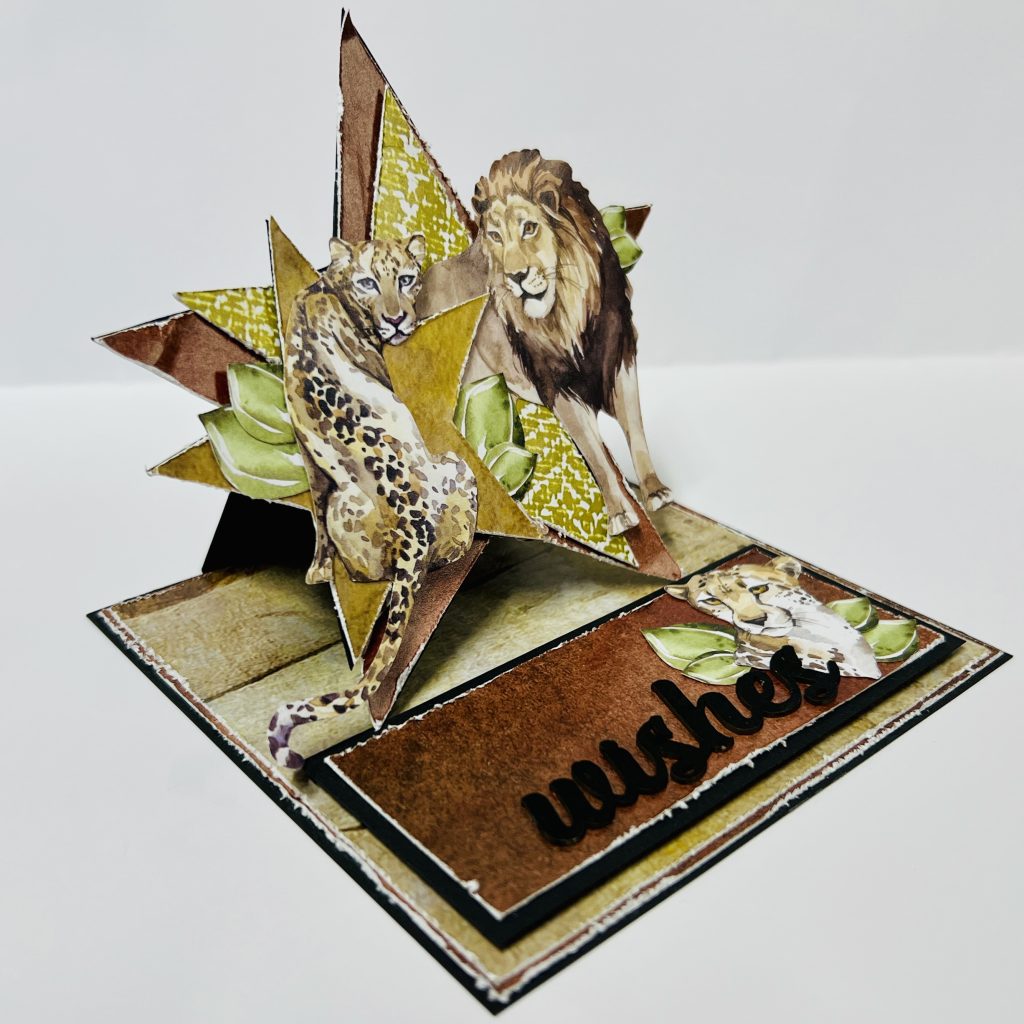
Star Easel Card – On Safari Collection – Wednesday 24 June 2026